How to Draw A Fishing Rod. Fishing is one of the most relaxing ways to spend an afternoon. There are many different environments and places to set up your tackle, cast your line and see what happens.
Also, check our cat coloring pages printable.
There are also many different fishing rods that you can use, and different types can serve different purposes.
It’s hard to find something as fun and to relax as fishing, but learning how to pull a fishing pole comes close!
If you want to know how to recreate this tool, you’ve come to the right place. Although fishing rods are simple in structure, there are still challenges in learning to draw.
How to Draw A Fishing Rod
Step 1
We’ll keep things nice and simple for this first step of our guide to drawing a fishing rod.
As mentioned in the introduction, drawing even a simple object like a fishing rod can be surprisingly complicated.
For this first part, we will draw the beginning of the outline for the barrel part of the fishing rod.
If you want to show that this fishing rod caught a fish, draw the line with a sharper curve. After drawing, we can move on to step 2!
Step 2
Before we draw more of the rod part of your fishing rod drawing, let’s start drawing the handle and rod part.
First, draw half of a small rounded rectangular shape at the base of the pole. We’re only going to draw half of this shape since the coil will penetrate the blank as we draw in the next step.
Before we do that, let’s also draw the shaft grip. To do this, add a longer, rounded, rectangular shape attached to a smooth line.
That’s all there is to this step, so let’s move on to the next one.
Step 3
Later in this guide to drawing a fishing rod, we will draw the reel seat and the rest of the rod’s outline. Let’s start with the coil first.
This is drawn using a circular shape for the main part of the coil. Next, we draw a thin, angular shape for the reel handle.
This handle also has a small round shape at the end. Once this reel is pulled out, we can return our attention to the rod’s staff.
Outline the outside edge of the shaft; we won’t use a solid line for the inside. Instead, we leave small gaps to draw the loops that the line will meander through later. Try replicating this line as it appears in the reference image, and then we can move on!
Step 4
The reel line will go through several small loops on a real fishing rod, and we will now add these to your rod drawing.
Simply drag a few small rings over any space you left on the pole to add them. Once these are drawn, we draw a straight line down from the top of the post.
Then, to draw a lure, you can add an oval shape with several small, thin shapes protruding from the base.
Finish by drawing a curved hook that attaches to it; then, you can add some final details in the next step.
Step 5
This picture already looks great, but in this step of our guide on drawing a fishing rod, we’re going to finish with some details that will make it even cooler!
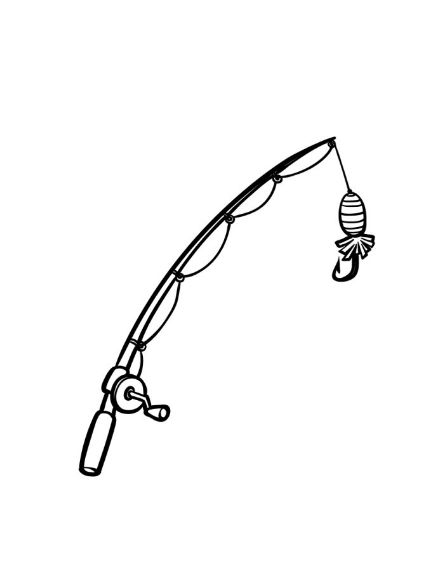
Start by drawing curved lines across the oval part of the lure to add extra detail. Next, we draw the fishing line itself.
Use curved lines to feed it through the rings until it connects to the coil.
Speaking of the reel, you can also add a few more details about it and the handle. Once these details are drawn, what else will you add? You could draw a fish on the end of the rod!
Step 6
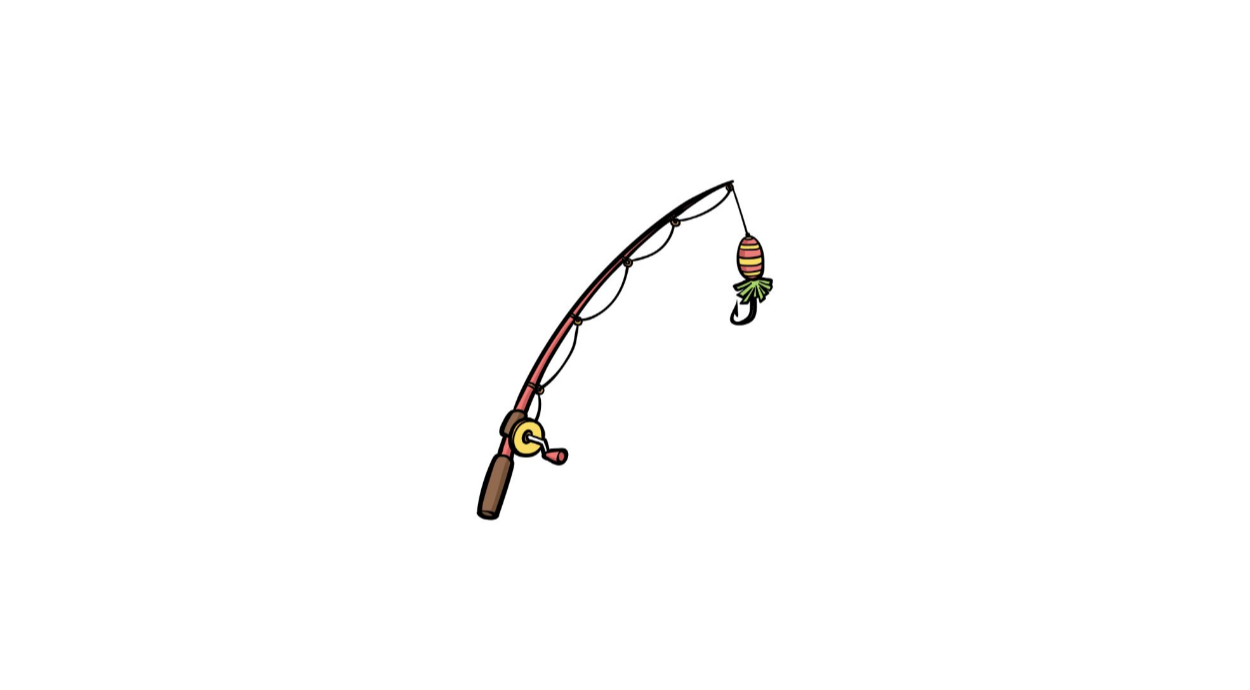
In this last part of your fishing rod design, you can finish it off with some colour.
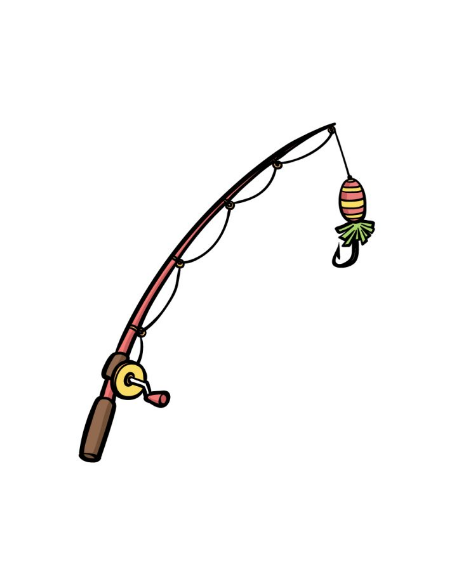
We kept the colours of the fishing rod itself a little more muted in our reference image since we mostly used some brown and red tones.
To add some contrast, we incorporated colours like yellow and green into small details on the reel and lure.
Your Fishing Rod Drawing is Finished!